
Time to time you may need to work on your site for updates like updating to a new design or adding a new feature, migrating or switching hosts or even troubleshooting your website. What happens to the visitors when you are working on the website? They’d end up seeing a broken website.
The proper way is to put your website in mantenance mode. And this comes super handy when you don’t want visitors or search bots to see a broken website. Like most things in WordPress, there’s a tough way (using FTP, some bit of coding) and an easy way (because for most things, there’s a plugin).
Putting Your WordPress Website in Maintenance Mode With a Plugin
- Navigate to your WordPress Admin Dashboard > Plugins > Add New
- In the search box, type: WP Maintenance Mode & Coming Soon
- Click “Install” and then “Activate”.
Note, that even though the plugin is active, you need to set up a few items and turn on the Maintenance Mode.
- Navigate to your WordPress Admin Dashboard > Settings > WP Maintenance Mode
- Navigate to the “Design” Tab (that’s the minimum you should configure).
- Once you have configured the “Design” tab, navigate to the “General” tab.
- Set the “Status” to “Activated”.
- Open your site in the browser’s Incognito Window and verify that your site shows up the maintenance notice.
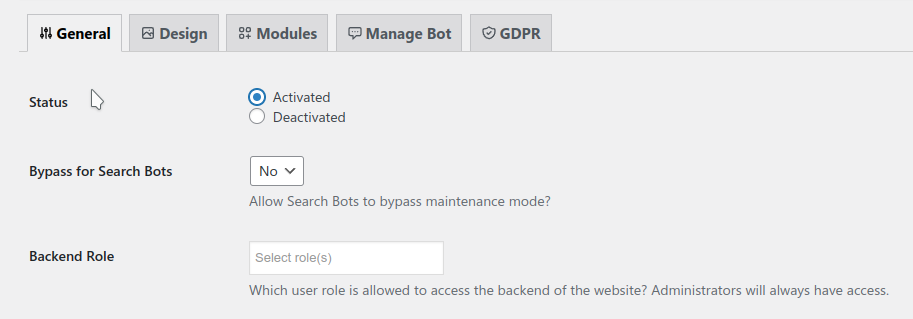
Once you are done with the maintenance work, you can either deactivate the plugin itself or go back to plugin settings and set the “Status” to “Deactivated”. That’s it.
