WooCommerce is the most comprehensive e-commerce plugin for WordPress powered sites. You can set-up any kind of online store with WooCommerce — be it digital goods (like ebooks, premium themes, graphic design resources), virtual goods (like subscriptions, paid services) or physical goods. It takes care of all the aspects of setting up an e-commerce store which helps you in selling online with ease.
Depending on the kind of products you are planning to sell, you will have to configure WooCommerce settings. In this tutorial, I will walk you through the process of setting up a store for selling digital products with WooCommerce.
Step One: Installing and Configuring WooCommerce Settings
Install the plugin
The first step is to install WooCommerce. The simplest way to do this is via “Add Plugins” screen. Go to Plugins > Add New, type WooCommerce in “Search Plugins” field and install the plugin.
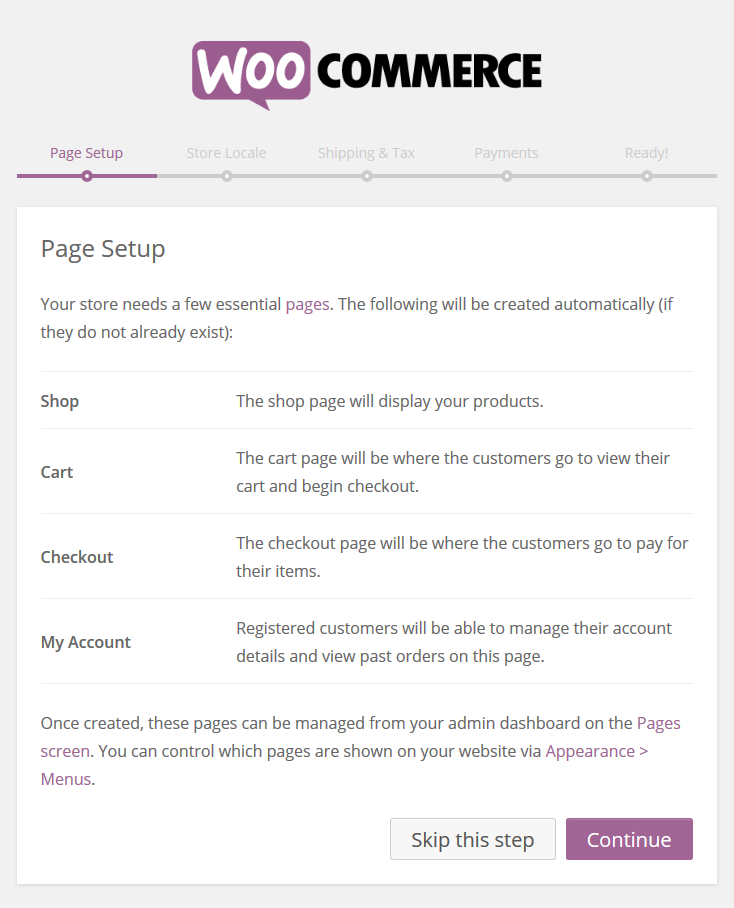
Once the plugin is installed, it will redirect you to the user friendly set-up wizard which will help you in setting up basic WooCommerce settings in five simple steps.
Run the Set-up Wizard
- Page Set-up: Adds WooCommerce specific pages.
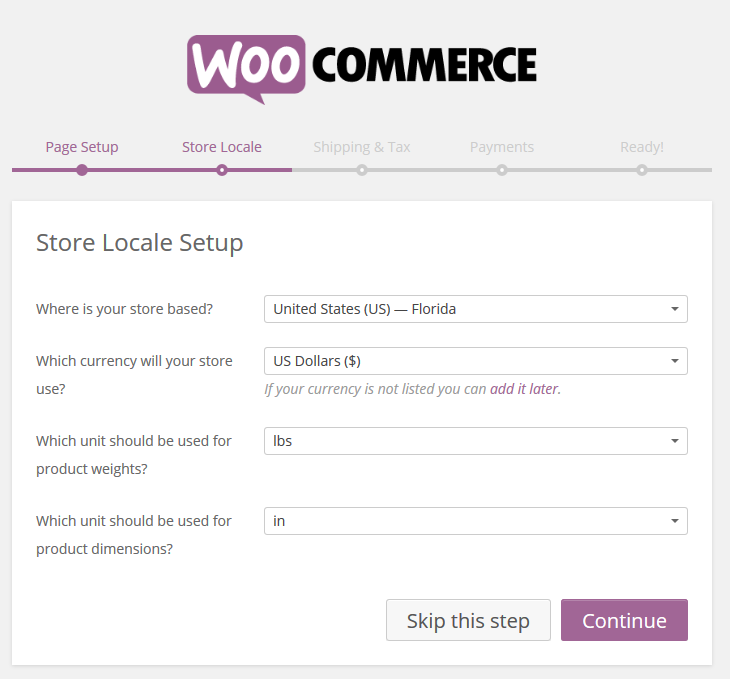
- Store Locale: Choose the location of the store and set the currency for the sales. For downloadable products, product weight and product dimensions doesn’t matter.
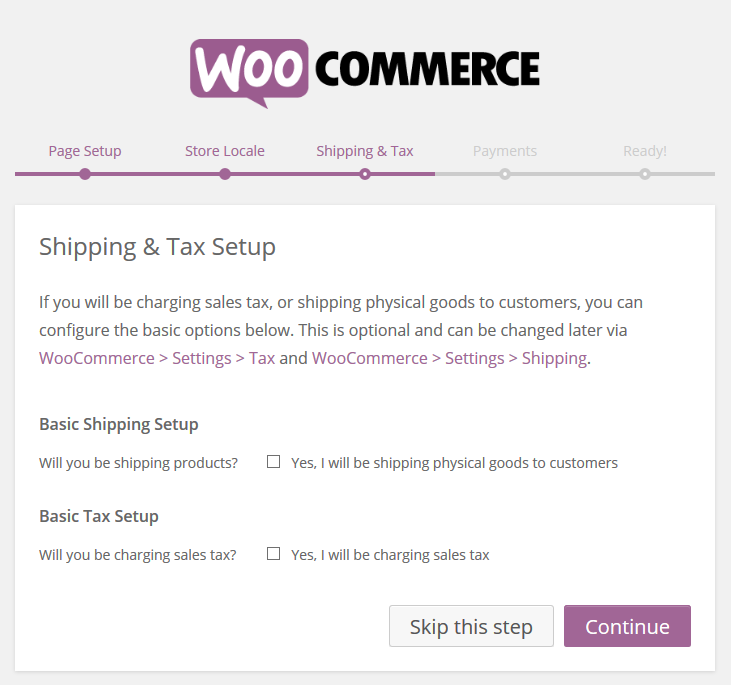
- Shipping & Tax: For downloadable products, shipping set-up is not required. If you need, you can configure tax set-up for charging sales tax.
- Payments: Enter the Paypal email address of the account where you want to receive the payments from the sale.
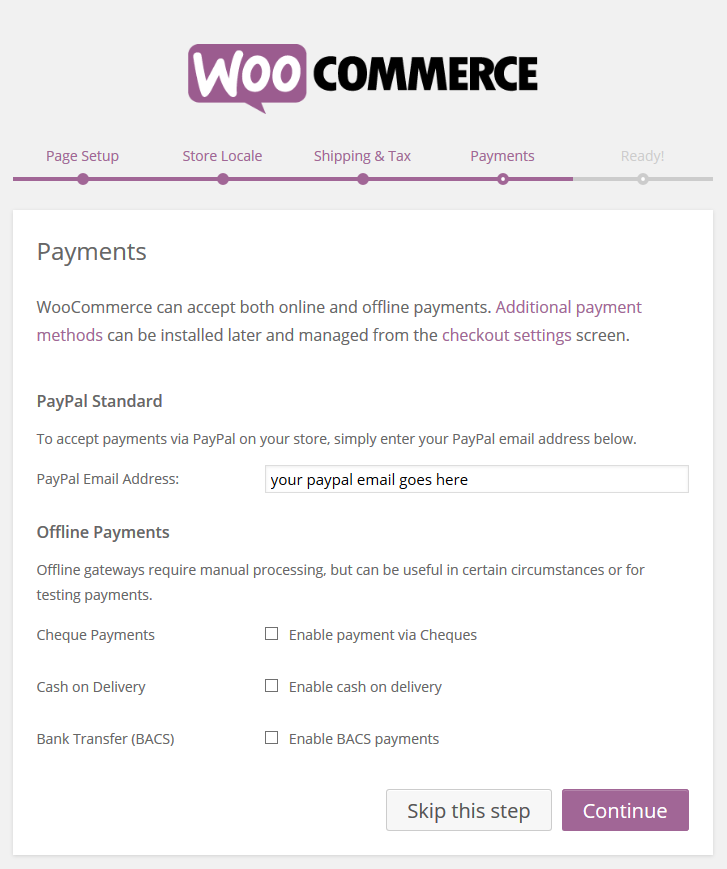
- Ready: Your store is all set with basic configuration and you can now return to WordPress dashboard for declaring the WooCommerce (if your theme does not already support it).
Install & Activate Genesis Connect for WooCommerce
If you are using Genesis, you will have to install and activate “Genesis Connect for WooCommerce” plugin and add the following line of code in your child theme’s functions.php, otherwise WooCommerce will say “Your theme does not declare WooCommerce support”.
add_theme_support( 'genesis-connect-woocommerce' );
You will not be required to add this line of code to your Genesis child theme if it is WooCommerce compatible. For instance all the Lander themes are 100% WooCommerce ready — you just need to install WooCommerce and Genesis Connect for WooCommerce if you are using one of the Lander themes — Femme Flora, Captivate or Xposure.
Review Settings for Downloadable Products
The set-up wizard takes care of all the basic settings. However, before starting to add the products, go through WooCommerce > Settings and configure / update the settings under each tab as required.
WooCommerce provides the following settings for Downloadable Products:
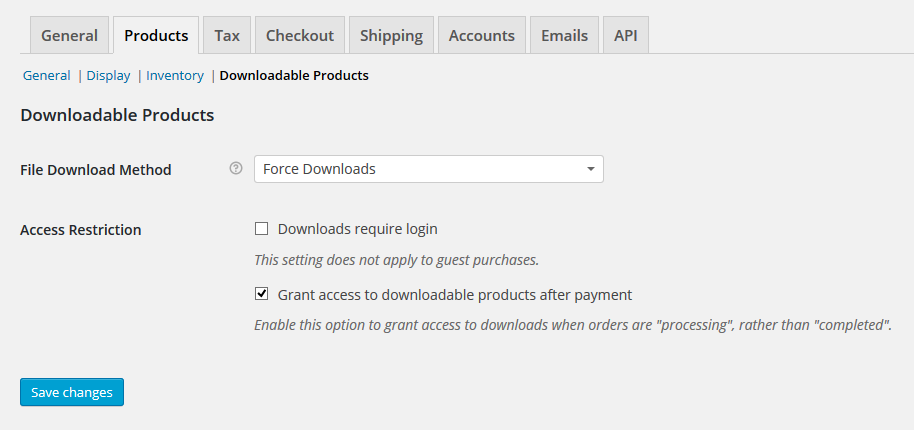
- Select File Download Method: There are 3 options: Force Downloads, X-Accel-Redirect/X-Sendfile and Redirect only. Force downloads works in most of the cases. You can learn more about these options here.
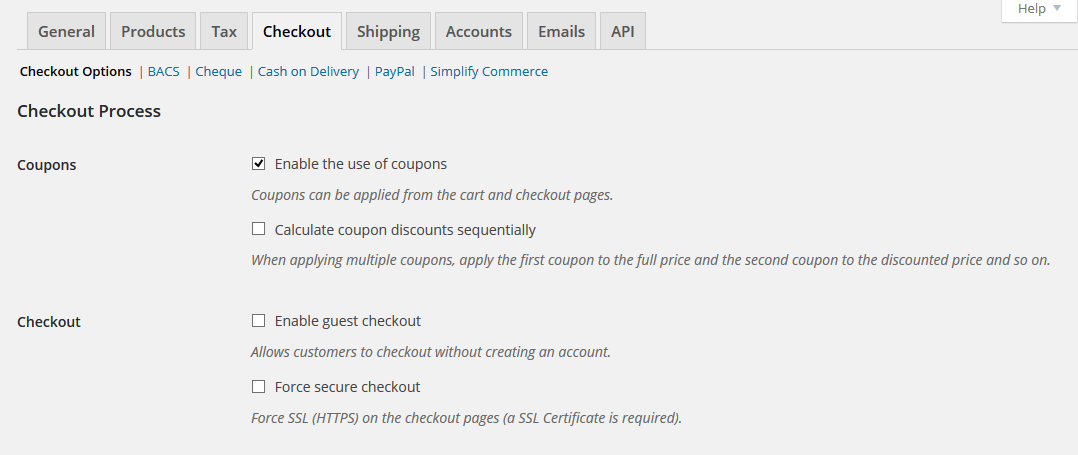
- Access Restrictions: You can restrict the access to download the file via these settings. If you select “Download require login“, you will have to disable guest checkout under checkout options.
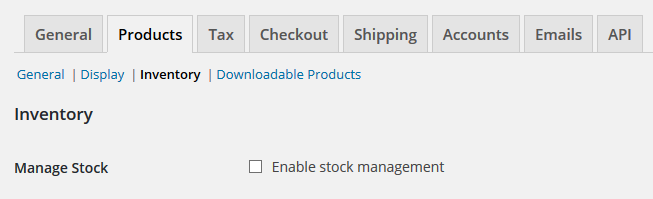
Additional Settings
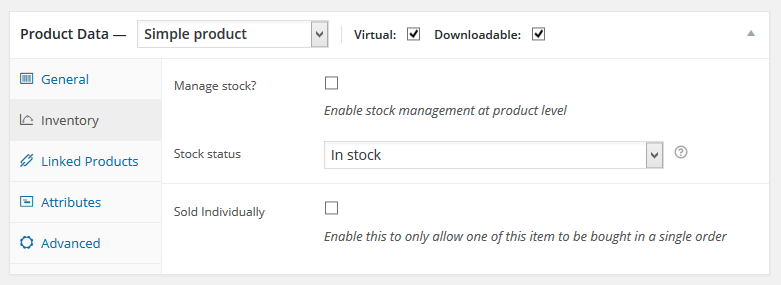
- For the downloadable products, you don’t need to manage the stock; uncheck “Enable Stock Management“.
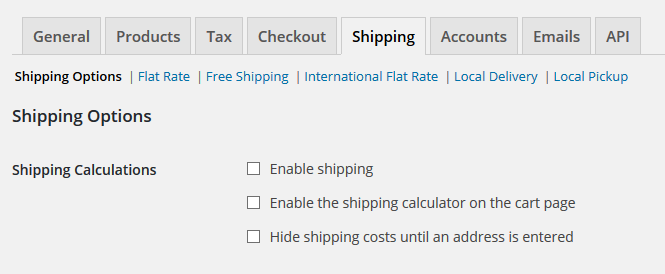
- The downloadable products are neither shipped; disable shipping as well as shipping calculator.
Step Two: Add Digital Downloadable Products
Once the settings are configured, you are all set to add digital products. To create the downloadable product, go to Products > Add New.
Enter the title & description, set the product image, add the product gallery, assign the product categories and add the product tags.
Configure the following settings under Product Data metabox:
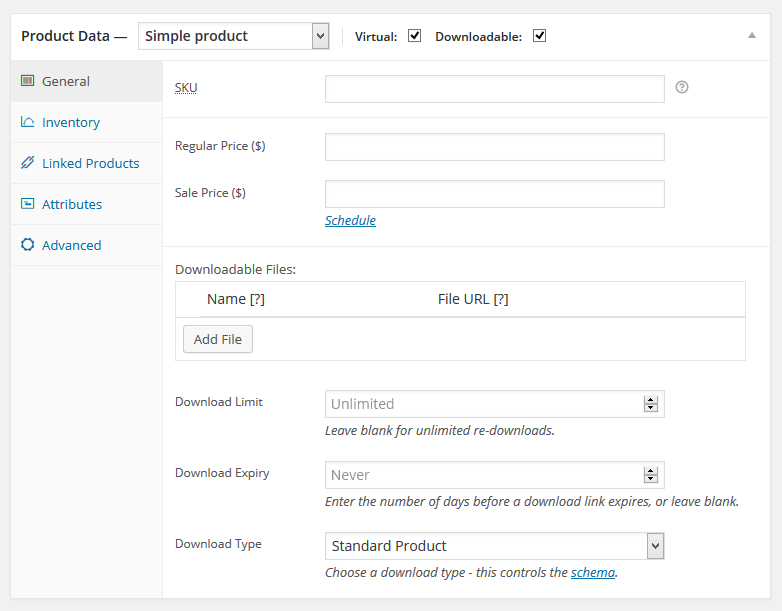
Product Data — General: Select both the options Virtual (intangible product which cannot be shipped) and Downloadable.
After checking the downloadable box, some extra options will appear where you can upload the downloadable file, set download limit, specify download expiry and select download type. All these options are self-explanatory.
Product Data — Inventory: Leave these settings as is. For virtual and downloadable products, we don’t need to manage inventory and stock.
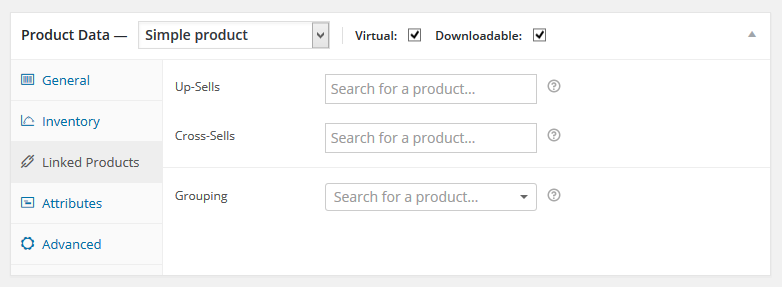
Product Data — Linked Products: You can set upsell and cross sell products via these settings.
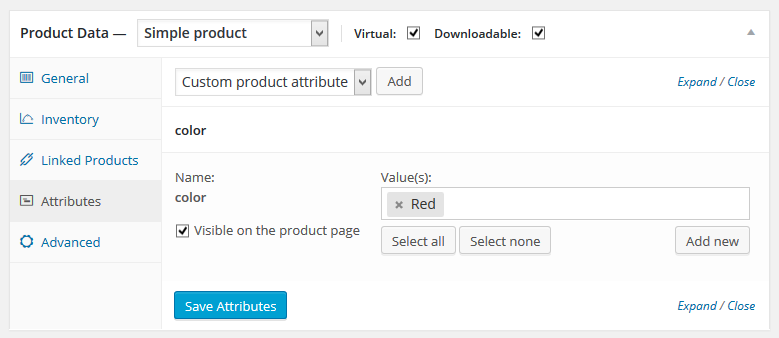
Product Data — Attributes: The product attributes helps you in creating the variants of the products. You can have same product in multiple colors for instance. This will require you to define a attribute called “Color” and assign the respective values for color attribute.
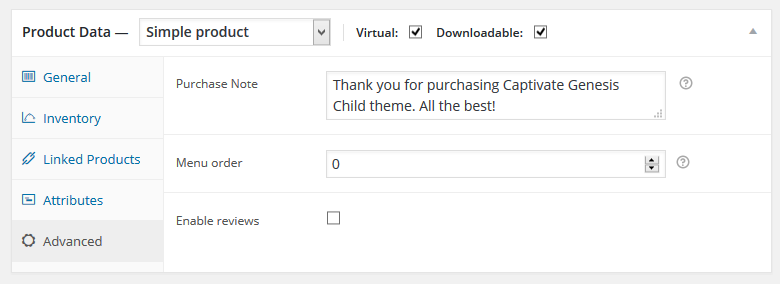
Product Data — Advanced: Here you can add a purchase note for the buyer. And you can also choose to enable or disable the reviews for the product.
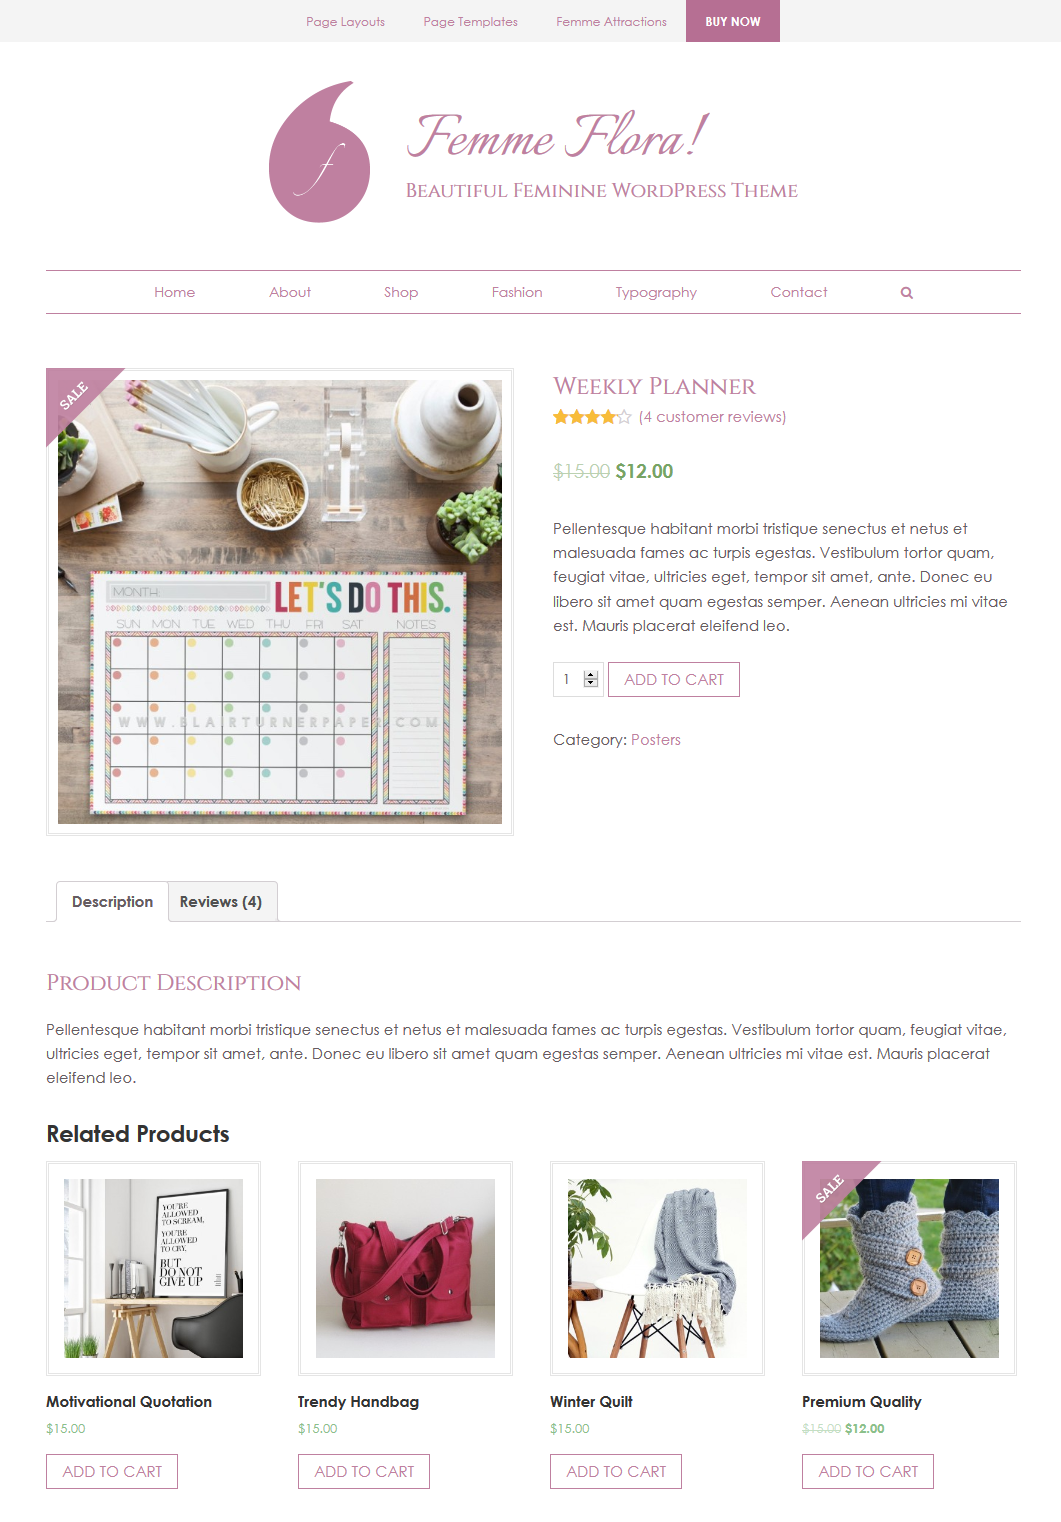
Once you have configured all the settings for the product, hit Publish and View the product.
Step Three: Customize the Checkout form
By default WooCommerce checkout form is pretty comprehensive. It includes numerous billing fields for collecting billing address. In case of downloadable products, we don’t need to collect all this information. We just need first name, last name and email address fields in the checkout form.
Here’s the code to remove unnecessary fields from the checkout form:
add_filter( 'woocommerce_checkout_fields' , 'bt_woo_remove_billing_checkout_fields' );
/**
 * Remove unwanted checkout fields
 */

function bt_woo_remove_billing_checkout_fields( $fields ) {
	unset($fields['billing']['billing_company']);
	unset($fields['billing']['billing_address_1']);
	unset($fields['billing']['billing_address_2']);
	unset($fields['billing']['billing_city']);
	unset($fields['billing']['billing_postcode']);
	unset($fields['billing']['billing_country']);
	unset($fields['billing']['billing_state']);
	unset($fields['billing']['billing_phone']);
	unset($fields['order']['order_comments']);
	unset($fields['billing']['billing_address_2']);
	unset($fields['billing']['billing_postcode']);
	unset($fields['billing']['billing_company']);
	unset($fields['billing']['billing_city']);
	}
    return $fields;
}
Bonus: Configure Layouts for WooCommerce Pages
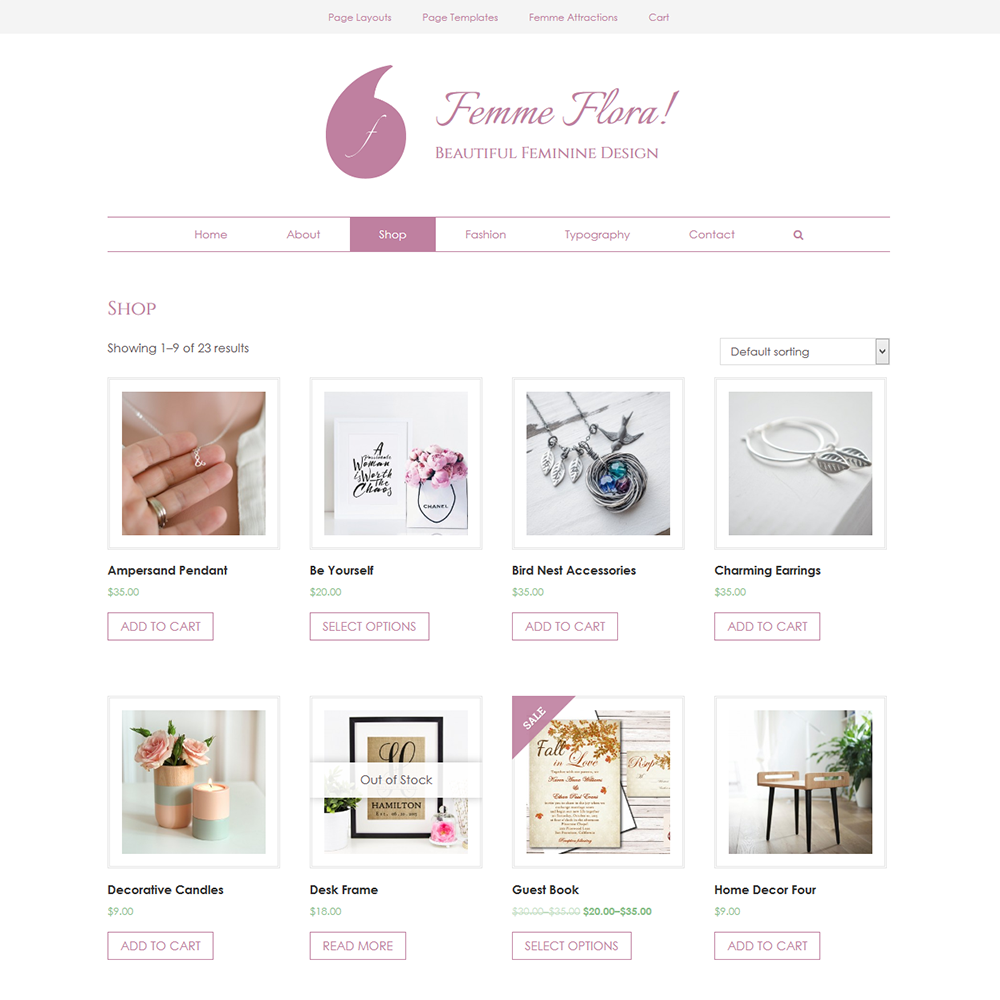
If you are using a Genesis child theme, you can configure the layouts for WooCommerce pages. You can individually set the layout for each product and each of the WooCommerce pages or if you want you can use the following line of code to force full-width layout for all the products and WooCommerce pages.
add_action( 'wp_head', 'bt_woo_full_width_pages' );

function bt_woo_full_width_pages() {
	if( is_woocommerce() || is_shop() || is_checkout() || is_cart() || is_product() ) {
		add_filter('genesis_pre_get_option_site_layout', '__genesis_return_full_width_content');
	}
}
You are now ready to start selling the digital products using WooCommerce!
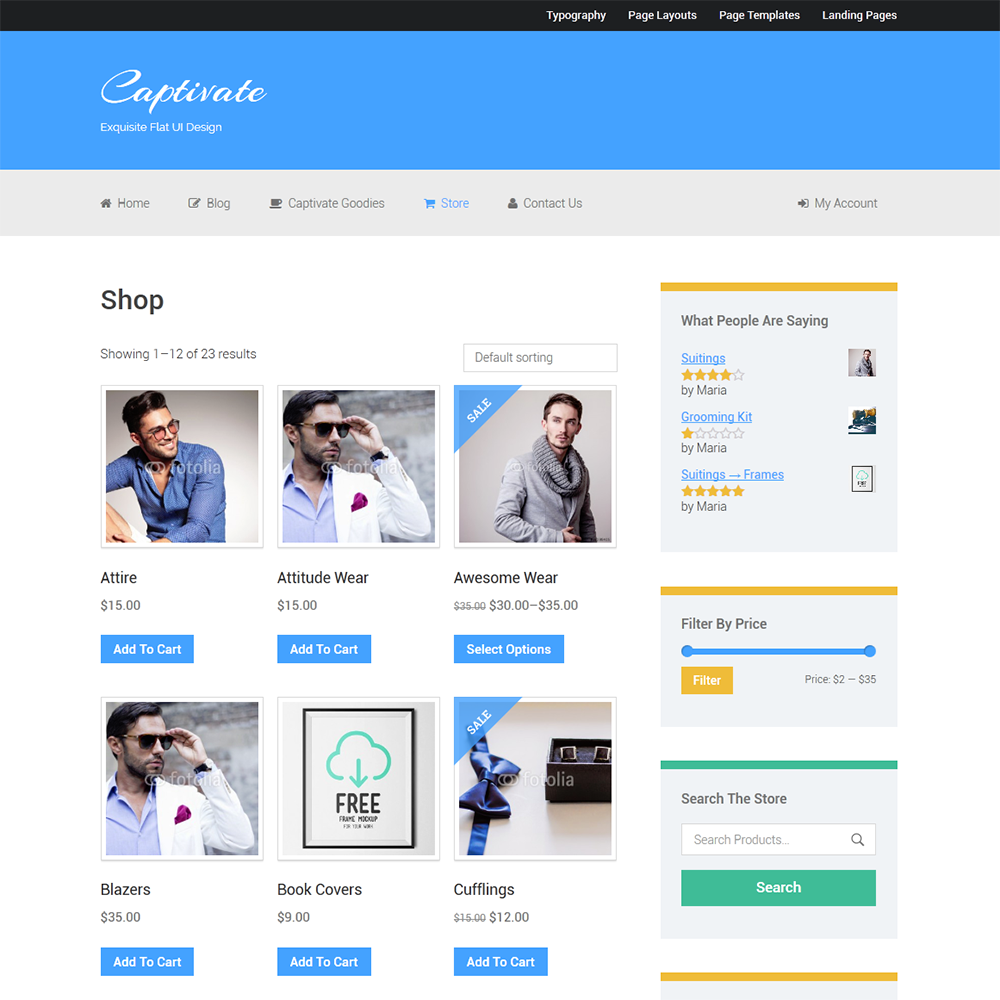
All the Lander themes are WooCommerce ready out-of-the-box. If you are planning to start an e-commerce store for selling digital downloads, you can pick any of the Lander themes and start selling beautifully.
And here’s your chance to win Femme Flora WooCommerce ready feminine WordPress Genesis child theme.