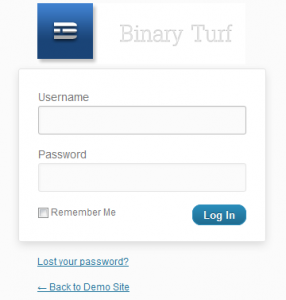
 The default login screen for WordPress dashboard shows the WordPress logo and links to WordPress.org. However as a part of WordPress customization you may be interested in having your own customized logo on wp-login.php page. All this can be done very easily. In just three simple steps! Are you ready to follow the steps. Here they go:
-
Customize WordPress Dashboard Logo
Here’s the code for replacing the default WordPress logo with your own custom designed logo; which speaks for your brand.
 Design a beautiful logo for your brand and get going with the following piece of code (ftp the image & paste the following code in functions.php or custom_functions.php if using thesis)
function custom_dashboard_logo(){
echo '<style  type="text/css">
h1 a {
background-image:url('.get_bloginfo('template_directory').'/images/custom_logo.png)  !important;
}
</style>';
}
add_action('login_head',  'custom_dashboard_logo');
Note: Replace the name of the image with your customized image/logo.
-
Customize WordPress Dashboard Logo URL
The next important thing to do is to link the customized logo to your own website instead. Add the following code in functions.php to link the dashboard logo to your website:
function custom_dashboard_url( $url ) { return get_bloginfo( 'siteurl' ); } add_filter( 'login_headerurl', 'custom_dashboard_url' ); -
Customize WordPress Dashboard Logo Tagline
Similarly, you can also modify the default tagline which says Powered by WordPress and replace it with your custom tagline. Check out the following code:
function custom_dashboard_tagline( $name ) {
return get_bloginfo( 'description' );
}

add_filter( 'login_headertitle', 'custom_dashboard_tagline' );
